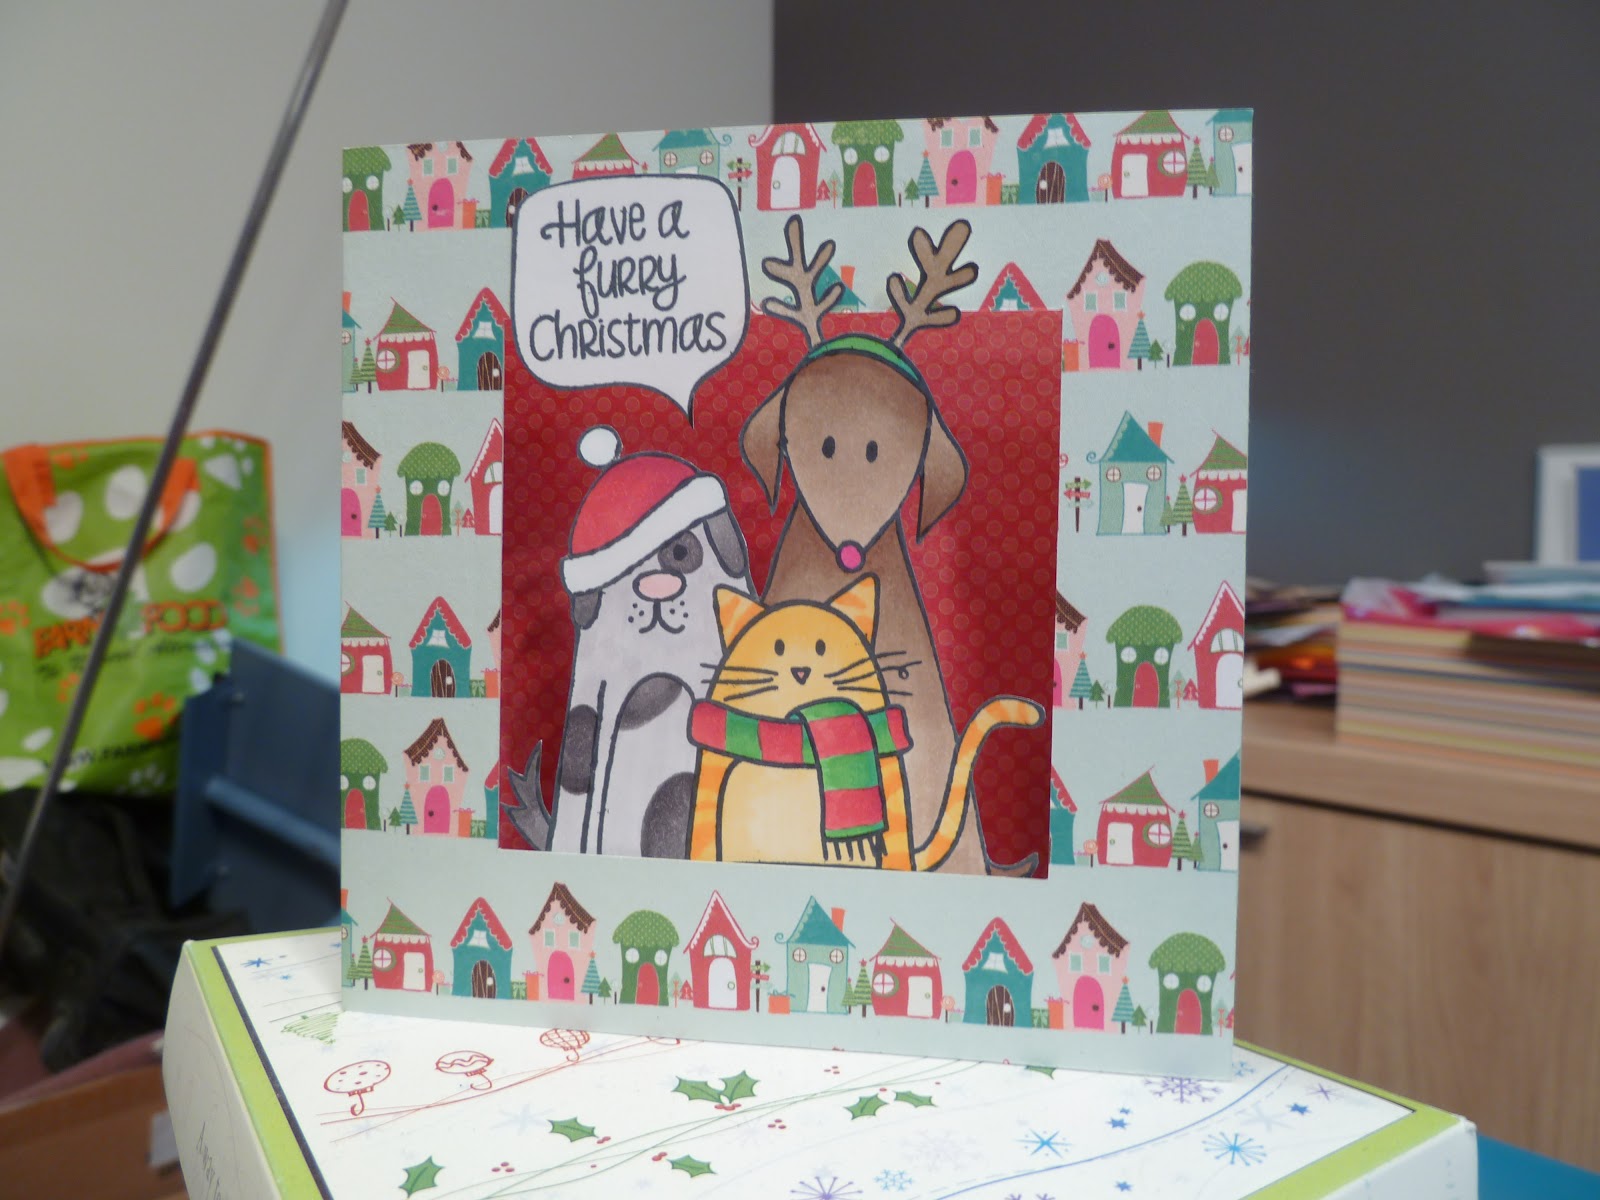
First of all... this is the finished product. The stamp is an early christmas present from my hubby (since getting it at christmas would kind of defeat the purpose of the stamp ;)).

If you have a good look, you can see there is quite a lot of space behind the furry trio, but there is no bulk to the card, so it is easy to mail.
This is a quick sketch of the card base (or at least the shape of it) you need. The furry friends will go in the window on the right.

Then I took a picture of all the score lines that need to be made, but off course you needed some kind of super eagle sight to see them, so I left the picture out ;). Essentially you need to score the card on all of the above lines. The dotted lines are scored to one side, all the other lines are scored to the other side.
If you make all the folds, this is what you should end up with.

Then cut out the window you want (it's OK to draw directly onto the inside of the card because it doesn't open ;)) and glue the paterned paper of your choice to the outside. Or you can glue first and then cut through 2 layers, it's up to you (and your cutting skills).

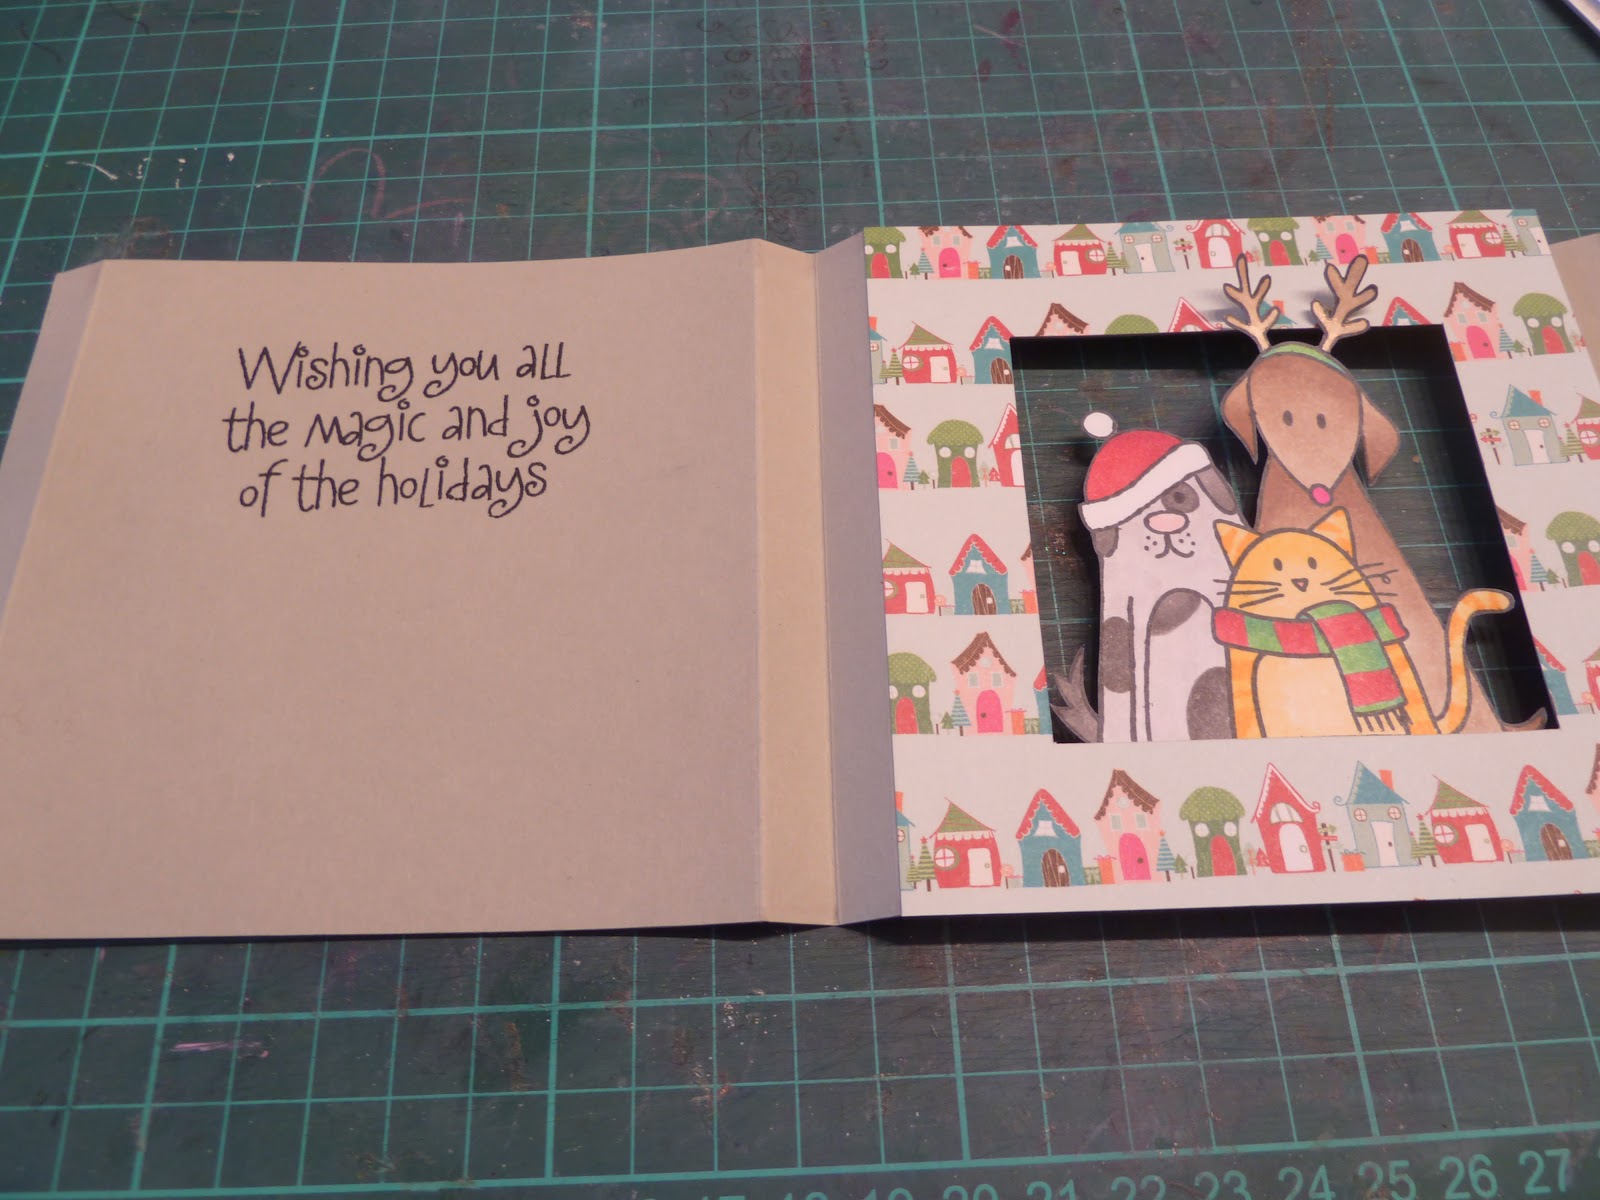
Glue your furry trio (or whatever image you chose) to the inside and glue some pretty paper for the background to the other side.

I already stamped my sentiment on what will be the back of the card, because this is the only time it will be on a flat surface (once you close the card, there will be some irregularities from the cut out frame and animals).
Then glue the card closed and keep it in place until the glue dries (and I'm just demonstrating how flat it can be mailed here :))

Quick view from the top

And another view of the end result. Hope you like it!
Thanks for stopping by!
Geen opmerkingen:
Een reactie posten